
The Art of Moonlighting: How Canopy Illumination Transforms Backyard Trees After Dark
Reimagining Nightscapes Beyond the Upward Beam
Backyard lighting often begins at ground level, with a spotlight aimed upward at a trunk, specimen tree, or architectural wall. That approach can be effective for drama, but used too broadly it tends to flatten a layered garden. Bright fixtures create glare, expose the light source, and turn foliage into a rigid silhouette rather than a living part of the landscape. A more considered approach is professional tree lighting, which treats illumination as an extension of planting design rather than as a collection of bright points.
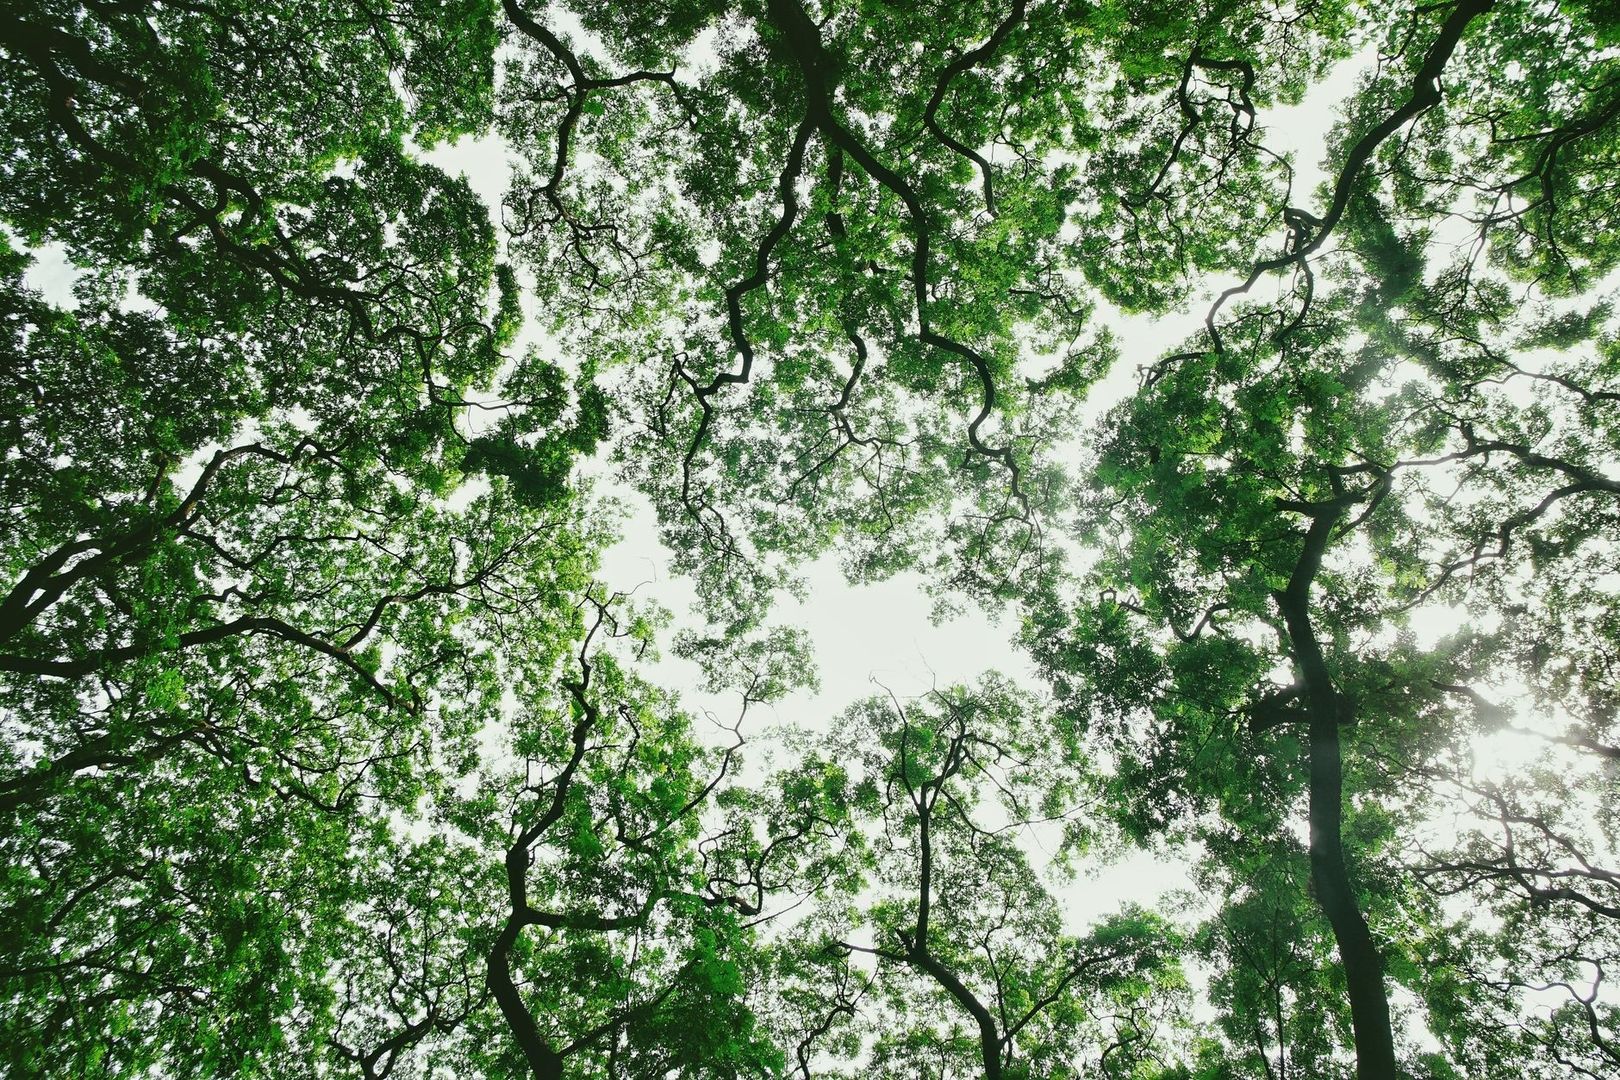
Moonlighting shifts the visual source overhead. Carefully positioned, low-voltage fixtures are concealed high within mature canopies and directed downward, allowing branches and leaves to filter the light before it reaches the ground. The result is a quiet pattern of brightness and shadow across lawns, patios, paving, and seating areas, similar to the effect of a clear moon passing through foliage. This guide examines the optical principles behind that effect, the relationship between elevation and beam spread, the subtleties of color temperature, and the arboricultural precautions required for a healthy long-term installation.
The Mechanics of Lunar Illusion
A utilitarian floodlight is designed to make an area plainly visible. It spreads a strong, relatively uniform beam that can be useful for security or task lighting, but uniformity is rarely the goal in a carefully styled garden. Moonlighting works through filtration. The fixture is placed above eye level, often inside an established tree, so the canopy breaks up the beam and softens its edges before the light lands below.
The most convincing installations use several modest low-voltage spotlights rather than one overpowering source. Each fixture is angled through a different section of the canopy, producing overlapping pools of illumination. As branches move in an evening breeze, their shadows shift across the lawn or terrace. This movement gives the garden visual rhythm without introducing distracting motion or theatrical brightness. Water features can intensify the effect by catching fragments of light, while pale stone and light paving reflect it gently into adjacent planting beds.
Compared with typical uplighting, overhead illumination is generally more comfortable for people using the space. The light source remains outside the direct field of vision, and the ground receives indirect, broken illumination instead of a concentrated glare. That matters around dining tables, lounge seating, and pathways, where excessive contrast can make it harder for the eye to adjust between bright and dark areas. The distinction between ambient moonlighting and practical downlighting is useful: moonlighting creates atmosphere, while a more controlled fixture may still be needed over steps, cooking surfaces, or doorways.
- Use moonlighting to create broad ambient coverage across lawns, patios, and garden rooms.
- Use narrow accents where trunks, bark texture, or sculptural branches deserve emphasis.
- Keep fixtures concealed from common viewpoints to preserve the illusion of natural light.
- Layer brighter task lighting only where safe movement or detailed activity requires it.
Elevation and Optics for Natural Shadows
Height determines how much of the canopy participates in the effect. In established hardwoods, a practical mounting range is approximately 20 to 35 feet above grade, provided the tree is structurally sound and the installation can be completed safely. Guidance from Kichler”s tree-lighting guide places effective downlighting commonly around 20 to 25 feet, while other professional lighting guidance describes fixtures installed 20 to 30 feet high. The ideal point is not simply the highest accessible branch. It is the location where foliage can interrupt the beam without creating an obvious, artificial oval of light.
Beam spread should relate to both the height of the fixture and the width of the area below. A narrow 25-degree beam can reach a specific seating zone or pick out a trunk, but it may create a conspicuous hot spot if aimed at open paving. A 60-degree flood spreads more gently and is often better for lawns, patios, and broad planting beds. Medium beams between approximately 30 and 45 degrees offer a useful compromise when the tree has a moderately open canopy and the intended coverage is neither highly focused nor completely diffuse.
Lumen output is equally important. For atmospheric moonlighting, fixtures in the range of 150 to 350 lumens are often more appropriate than powerful floodlights, especially when several fixtures are working together. The following matrix offers a starting point, not a substitute for an on-site photometric test. Surface color, foliage density, fixture efficiency, and competing light from neighboring properties can all alter the final appearance.
| Tree height | Suggested beam spread | Starting lumen range | Approximate ground effect |
|---|---|---|---|
| 15 to 20 feet | 45 to 60 degrees | 150 to 225 lumens | Soft local pool for a small patio or lawn edge |
| 20 to 25 feet | 35 to 60 degrees | 200 to 300 lumens | Broad dappled coverage across a seating or circulation zone |
| 25 to 35 feet | 25 to 45 degrees | 250 to 350 lumens | Layered shadows with greater reach and canopy definition |
| 35 feet and above | 25 to 60 degrees, tested in layers | 300 to 350 lumens per fixture | Large-scale coverage requiring careful aiming and multiple sources |
Distance changes the beam dramatically. A fixture mounted 20 feet high with a 60-degree beam can cover an oval roughly 20 feet across, according to professional downlighting guidance. Yet a tree with few branches below 30 feet may produce a simple oval rather than the irregular, dappled pattern associated with moonlight. Before final installation, temporarily position or test fixtures from several angles after dark. The best arrangement usually avoids the geometric symmetry that makes a lighting scheme feel manufactured.
The Color Temperature Debate: Cool Lunar Radiance Versus Warm Ember
Color temperature changes the emotional character of a garden as much as beam spread changes its geometry. Warm sources around 2700K produce amber and honeyed tones that flatter timber, brick, terracotta, and natural stone. They are especially effective around dining areas and entrances, where a welcoming sense of intimacy is more important than the impression of open sky. Cooler sources between 4000K and 5000K appear more silvery and can suggest the blue-white quality associated with moonlight.
For high canopy fixtures, 4000K to 4500K can reproduce a convincing lunar impression across grass, grey pavers, and pale stone. This range helps foliage read as cool, fresh, and slightly mysterious without automatically becoming harsh. The choice should still be moderated by the surrounding palette. A garden dominated by warm sandstone or rich timber may look disjointed if every fixture is cool white, while a contemporary terrace of charcoal paving and silver foliage can accept a cooler canopy more easily.
Layering different temperatures often creates greater depth than choosing one color for the entire property. Cool or neutral light can remain high in the trees, while paths, steps, and low planting receive a restrained 2700K to 3000K glow. The eye then reads the canopy as distant and atmospheric, with the lower garden feeling close and comfortable. Designers frequently recommend cooler light for green foliage and warmer light for architectural materials, but transitions must be gradual. The aim is contrast with cohesion, not a visible boundary between blue and amber zones.
- Choose approximately 2700K for intimate terraces, timber furniture, brick, and warm masonry.
- Choose approximately 3000K to 3500K for a balanced garden palette when a neutral appearance is preferred.
- Choose approximately 4000K to 4500K for high canopy moonlighting where a silvery effect is desired.
- Avoid excessive 5000K output in residential gardens, as it can appear stark, clinical, or hospital-like.
Protecting Tree Anatomy During Canopy Installation
The beauty of moonlighting depends on mature trees, so installation must protect the very structures that make the effect possible. Tight straps, electrical cords, or fixed metal bands can girdle a branch or trunk as the tree expands. Girdling restricts the movement of water and nutrients through the cambium and can create concealed wounds that worsen over several growing seasons. A fixture that appears secure on installation day may become a serious arboricultural problem if it has no allowance for growth.
Specialized tree-mount brackets, standoff screws, and corrosion-resistant stainless hardware provide a more responsible solution when selected and installed correctly. The hardware should hold the fixture clear of the bark, avoid crushing the cambium, and permit regular inspection. Tree-mount junction boxes and concealed, outdoor-rated cable routes can keep the installation visually quiet without forcing wires tightly against moving limbs. As product pages often provide incomplete technical information, fixture compatibility, sealing, load requirements, and mounting instructions should be verified with the manufacturer or a qualified lighting professional before work begins.
Work at 20 to 35 feet also introduces genuine fall and electrical hazards. A qualified arborist or experienced landscape-lighting contractor can assess branch unions, decay, species-specific growth patterns, and access conditions before recommending a mounting point. The fixture should never be attached to dead, cracked, rubbing, or poorly supported wood simply because it provides a convenient angle.
- Inspect the tree for decay, weak unions, deadwood, pest damage, and branches that may move against the fixture.
- Choose a mounting point that filters light through healthy foliage while keeping the luminaire away from high-friction contact.
- Use a purpose-designed bracket or standoff system with corrosion-resistant hardware rather than a tight improvised strap.
- Route cable with slack and protected transitions, keeping it clear of branch movement, sharp edges, and standing water.
- Test the beam at night from the main viewing areas, then secure aiming hardware without compressing bark.
- Inspect the installation seasonally and after major storms, checking growth clearance, cable condition, corrosion, and fixture stability.
Seasonal inspection is not optional. Trees add girth, branches shift, and canopies become denser or more open as years pass. A fixture that was perfectly balanced when installed may eventually be shaded, tilted, or pressed against expanding wood. Regular maintenance preserves both the lighting design and the health of the tree, while also allowing lumen output and color balance to be adjusted as the surrounding landscape matures.
Bring the Living Canopy into Nighttime Focus
Successful moonlighting is a disciplined combination of elevation, optics, and restraint. High fixtures provide the correct point of view, appropriate beam spreads determine whether shadows feel organic or geometric, and moderate lumen levels prevent the lawn from becoming a brightly lit stage. Color temperature then establishes the emotional tone, with cool canopy light creating distance and warm lower lighting maintaining comfort near people and architecture.
Begin by auditing the backyard after dark from the places that matter most: the kitchen window, terrace, garden path, and primary seating area. Identify mature trees with healthy upper limbs, open but not empty canopies, and clear sightlines toward the ground zones that would benefit from soft illumination. Mark potential mounting heights, note nearby power routes, and test temporary fixtures before committing to hardware. With careful placement and proper arboricultural practice, the living canopy becomes more than a daytime asset. It becomes the ceiling of a welcoming nighttime room, adding depth, movement, and year-round character to the garden.